Plan for 2 aquariums
Aquarium 1 :
Tank Size: 36'' X 18'' X 18''
Hood size : Add 2 inches to the actual size ie 38'' X 20''. This would be the size of the plywood that needs to be cut. 2 inch buffer includes thinkness of the plywood.
Aquarium 2 :
Size: 36'' X 18'' X 24''
Hood size : Add 2 inches to the actual size ie 38'' X 20''.
The height of the hood is 8'' in my case. It could be adjusted as per your requirements. Choose an appropriate height to fit lights inside the hood.


Pre-Requisite:
- Adhesive (Fevicol)
- Scale
- Hammer
- Plywood
- Nails (size depends on the thinkness of the plywood choosen)
- Screw driver
- Marker/Pen
- Measuring tape
- Sand paper

Plywood pieces cut as per the measure.
The rear end will have a L-shape piece fitting in, to hold accessories like air pump etc.
The top is cut in the middle to assist us in opening/closing the hood for maintenance etc

Mark plywood with proper measurements where the nails would be laid. Use a marker or pencil for marking.

Adhesive (Fevicol) is very important here before nailing the edges with other plywood pieces. First apply the adhesive on surface of both the pieces of wood. This will ensure that a strong bond is made. Then lay the plywood piece that is to be nailed to the shown piece of plywood and start nailing.

A video on how to apply the adhesive on the edges of the plywood pieces.
A video on how to nail the nails on the marks made.
After applying adhesive and nailing, the finished side is shown.

Top and left side of the hood completed.

Top, front, left and right side completed. The rear would have a L-shaped piece fitting in.

Paint the visible side of the hood with the color of your preference. Do not use direct paint on the plywood as I did, as it absorbed lot of paint on raw wood. Buy a white primer, which is quite cheap and use it for one or two layers through-out the hood - both inside and outside. Then buy a wood paint with the desired color for the visible area. In the invisible area ie inside the hood use white color because that would give you a better reflection of the light from the bulb inside the hood.
I choose black on the visible side.

And white on the inside.

A finished aquarium hood. Notice at the rear, the L-Shared finish. The hood has light fitted in it.

Front side view.
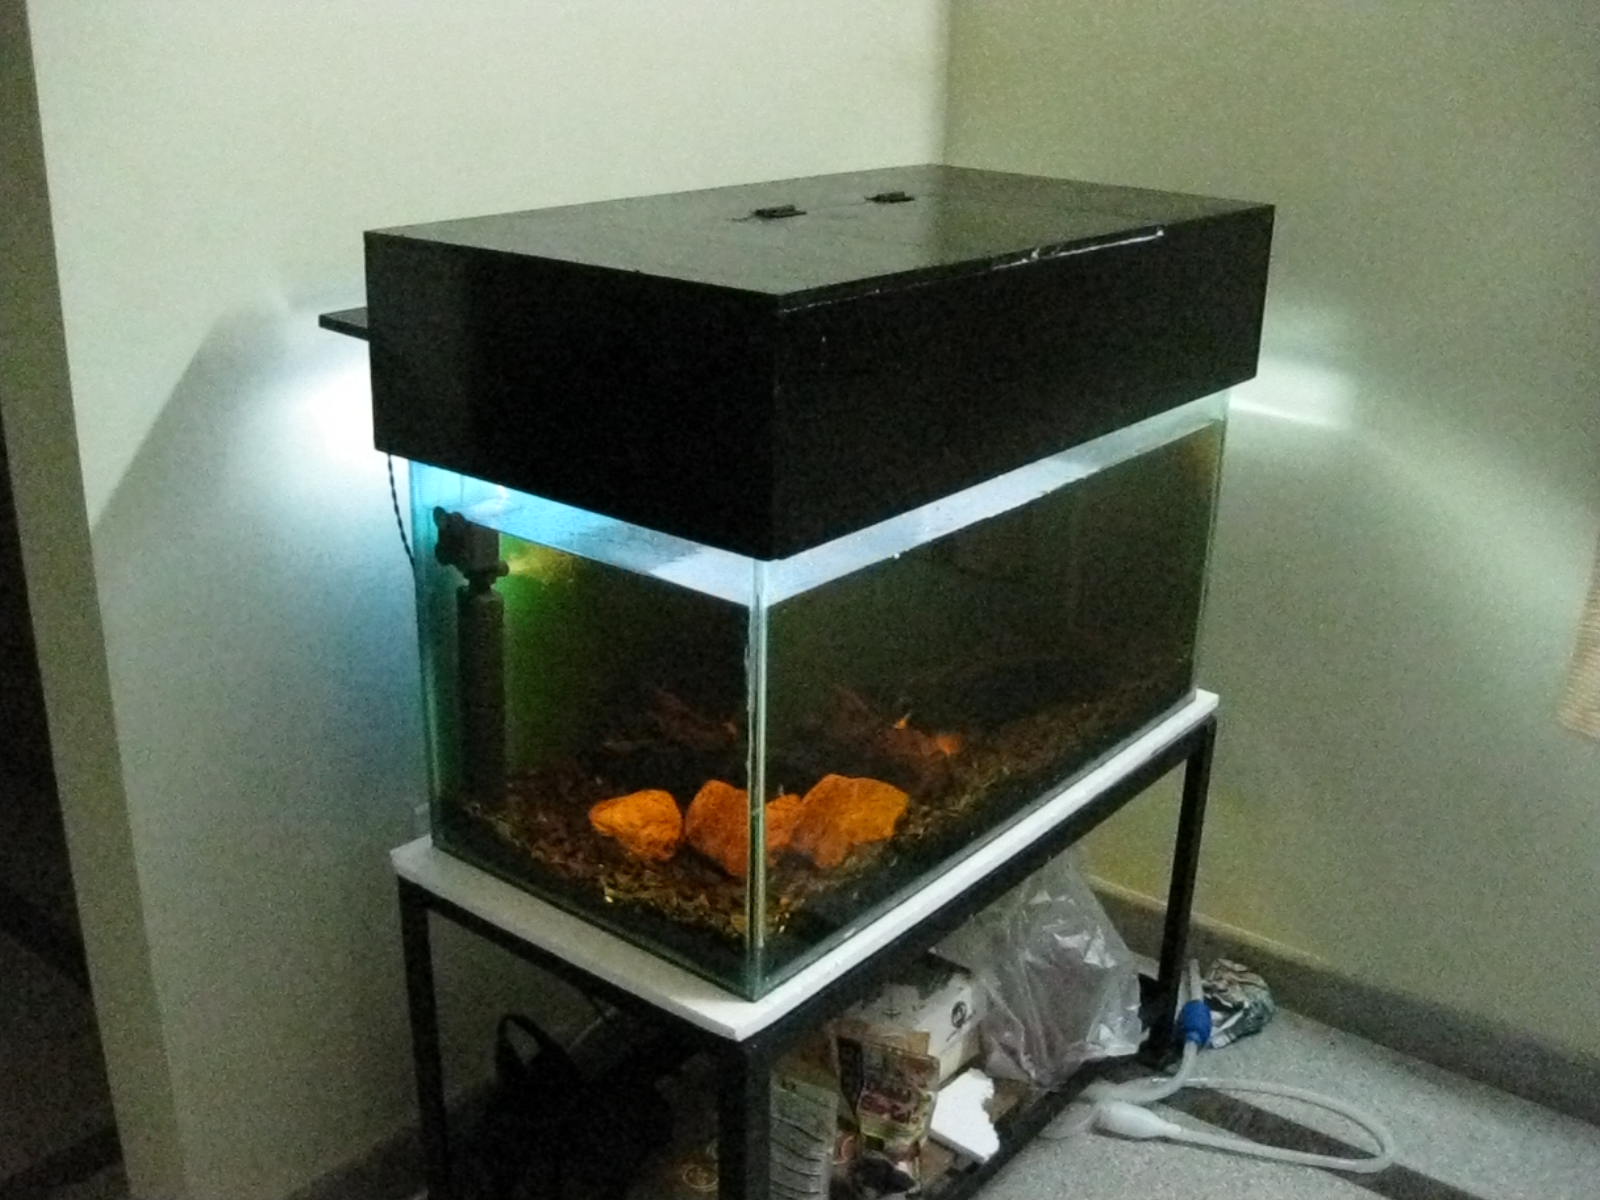
The second hood on a different aquarium.

I had cut the pieces of plywood in the shop where I bought the plywood, with proper measurements.
With all the items in place and plywood cut in pieces, the only work left was to make the markings, apply the adhesive and nail them to connect the pieces. That could be done in a day.
The total cost of one hood came to approximately Rs. 600 (cost of plywood is the major contributor)